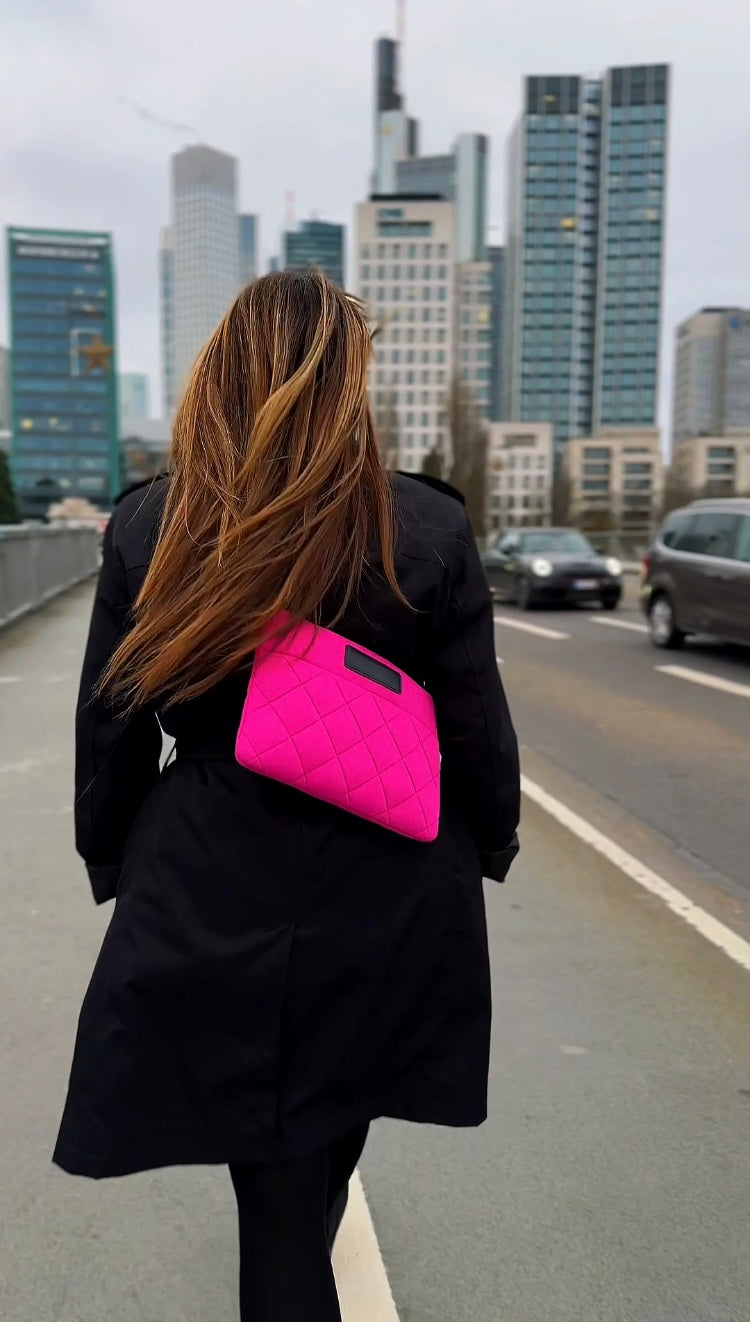
Travelling, visiting new countries and cities, is all about the memories you make. Those memories don’t have to be all inside your mind though, the photos of your trips are a fantastic record of great times and amazing places. Even a decade ago, if you wanted high-quality photos of your trips you needed to find space in your bag for a dedicate camera.
They were often heavy and bulky, and needed a bag to match, but today, you can slim down with the Rosenstaub Clutch and still get those images thanks to the incredible cameras that we find on our phones. It doesn’t matter which phone you have in your bag these days, as any recent phone has a great camera that you can use to capture any moment perfectly.
With a few tips, you can create professional looking images with the smartphone you have in your bag right now, and here’s how you do it.
Ditch the Filters
Before we take a look at taking better photos, a word on your phone set up. Ditch the filters. Yes, you have your favorites, but if you want to create the best photos possible, then just let the camera capture what is in front of you. Filters were first added to phone cameras to mask the lower quality they produced, but today the camera on your phone can take amazing images, you don’t need to mess with it to get great results.
On similar lines, avoid using your camera flash, it is a harsh light that creates unnatural shadow and contrast. Natural light is a better option.
Use Grid Lines
Believe it or not, one of the easiest things you can do to transform your photos is to turn on grid lines. Professional photographers follow a thing called the rule of thirds, which basically suggests that we find photos that are broken down into thirds horizontally and vertically more aesthetically pleasing. Grid lines help with this, place your focal point at the intersection between two grid lines and you are following the rule of thirds like a professional!
Grid lines have another advantage too, keeping everything straight. Have you ever looked at an image on Instagram or anywhere and just thought there was something odd or wrong? Chances are it is a sloping horizon or some other line that should be level but isn’t. Even if they are only a little out, it is something our brains instantly lock on to. With grid lines, you can keep everything level as it should be.
For iPhones, you can access grid lines by accessing Settings, then Photos & Camera, then toggle Grid on.
On Android, launch your camera app, got to Settings and toggle Grid Lines on.
Be your own Zoom
There is no doubting the quality of the cameras on our phones today, but they do have limitations. Digital zoom can seem great when you are choosing your shot, but it adds digital interference into the final image and can cause it to look a little fuzzy. Instead, you can keep the sharp image you want by simply getting closer to the subject yourself.
Position yourself to take every shot so you avoid needing to zoom in wherever possible and you will find the quality rises. The lack of sharpness can turn a great shot into an average one, so while digital zoom is OK if there is no alternative, try and limit how much you use it.
Set Your Own Focus Point
In most situations, your phone camera does a great job, it selects the right place to focus on and gets that focus spot on. However, if you are getting creative with your photography, you may want the focus to be on something else. For instance, when you are picking out a single person in a crowd, or someone surrounded by lots of objects, the camera may choose something else to focus on. Get in the habit of tapping the screen on the person or object you want the focus to be on before taking the picture.
Another situation in which this can matter is taking photos of a moving subject. As the camera tries to maintain focus as the subject moves, it can lead to something called focus hunting. That is where the camera loses focus and regains it several times. What you don’t want is to take your picture as it is out of focus. So, tap the screen on the object to force it to refocus just before you take the shot.
Setting where the focus should be manually ensures that whatever you want to focus on, is where the phone focuses. This way you are always creating the photo that you had in mind, not the one the camera decided was best.
Think About Your Lighting
Remember that selfie you took in a bar that you thought would look great, but ended up dark and grainy? That’s lighting. Cameras are all about light, so we have to get this right. Whenever possible use natural light, it's softer and more flattering to both people and objects.
When taking photos on the go during your travels, you want to capture the moment. Advice to wait for the golden hour’, the period just after sunrise or just before sunset when sunlight is at its most flattering, is impractical most of the time. So, while you may not be able to use perfect light for every photo you take on your travels, there are things you can do.
Whatever the light source, try and position yourself for any shot so that the source is behind you and shining towards the subject. This gives the best option for your phone camera to deal with.
Clean Your Lens
Finally, for the best quality, keep your lens clean. On your travels it can be easy to forget this, but any dirt, dust or other problem on the lens doesn’t just ruin one shot, but all of them. Keep a microfiber cloth in your Rosenstaub handbag alongside your phone and clean your lens regularly.
While all of these will help improve the quality of your images, the final piece of the puzzle is you. Be creative, look for new perspectives, experiment. Like anything, a little practice can make a big difference. Transform your travel photos, it’s easier than you think.
Hinterlasse einen Kommentar
Diese Website ist durch reCAPTCHA geschützt und es gelten die allgemeinen Geschäftsbedingungen und Datenschutzbestimmungen von Google.